
- Add a new field
Go to the Time Slot Pro > Settings > Booking Form page in your WordPress dashboard. To create a new custom field, click the +Add Field button at the bottom left of the Custom Form Fields section, or start by editing the first empty field already shown.
Next, choose the type of field you want to add, checkbox, file upload, number, radio buttons, dropdown select, text, or textarea. Decide whether the field should be required (Yes) or optional (No), and then add a clear label so users know exactly what information to enter.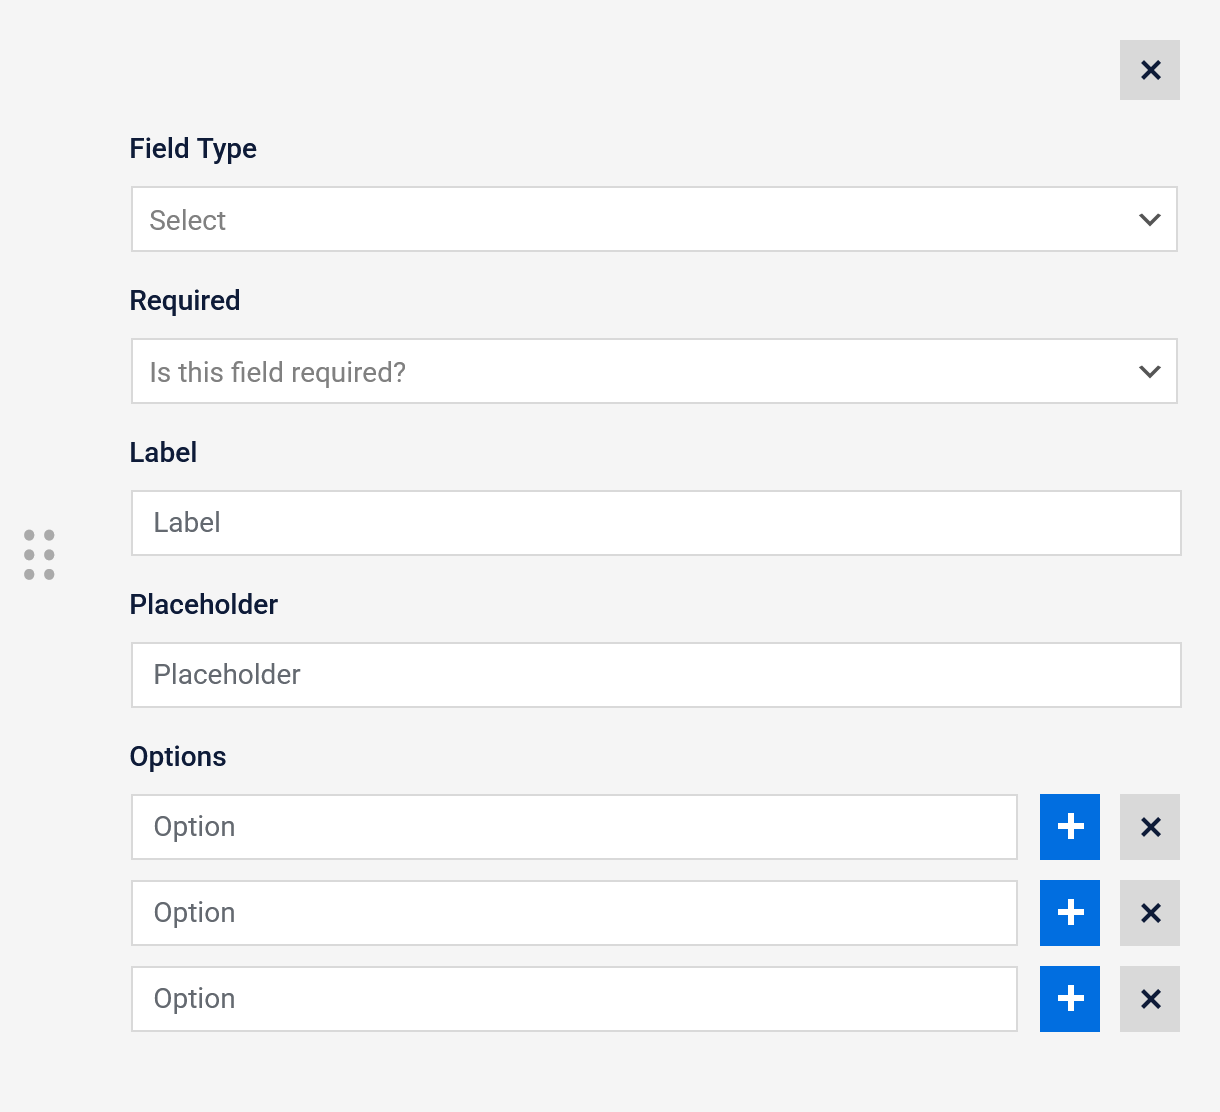
- Add placeholders
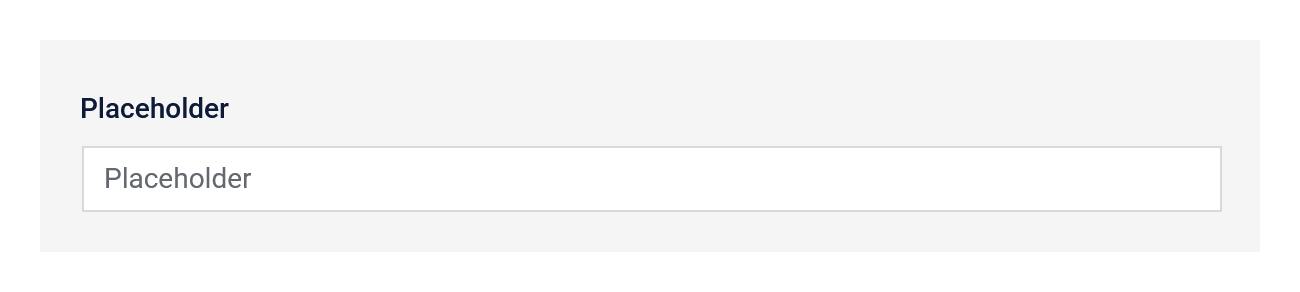
For text, number, select, and textarea fields, enter some text that gives users a quick hint about what to type. The placeholders will appear as faint text inside the form field will disappear once your user starts entering information.
- Add options
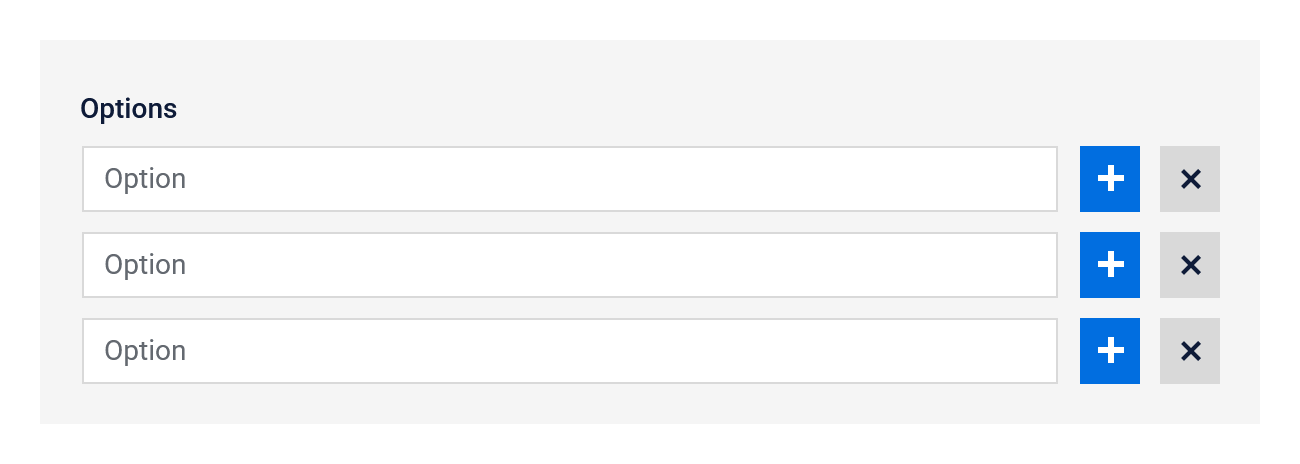
For select dropdown and radio button fields, add choices for your users to pick from. Click the plus (+) button to add more options, and the remove (X) button to delete an option.
- Rearrange fields
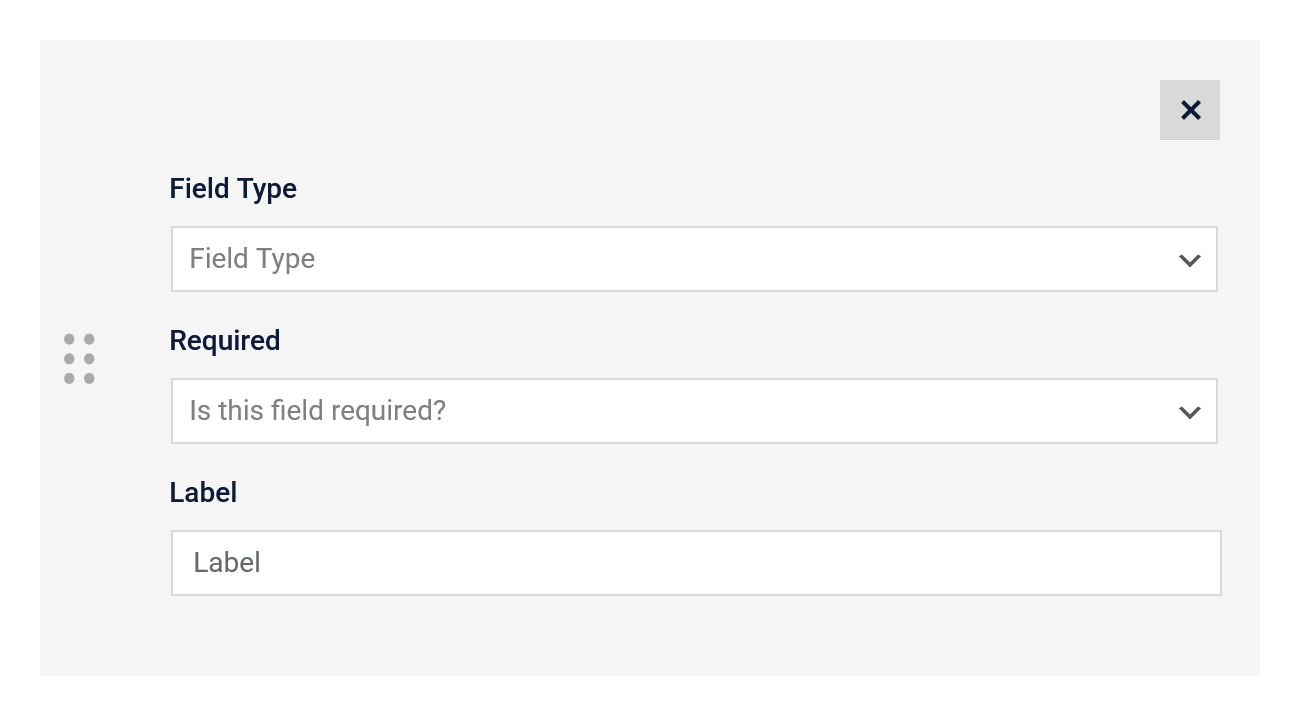
To change the order of your fields, click and hold the six dots on the left side of a field, then drag it up or down to where you want it. The fields on your booking form will automatically update to match this new order.
- Save your fields
Click the Save Changes button at the bottom of the page, and your new field will be automatically added to your booking form right away. When a customer completes the form, their information will be stored on the Customers page in the Time Slot Pro settings for you to review anytime.
Collect the information that matters
Customize your Time Slot Pro booking form with extra fields and ensure you’re ready for every client from the moment they book.