
- Get your Mollie credentials
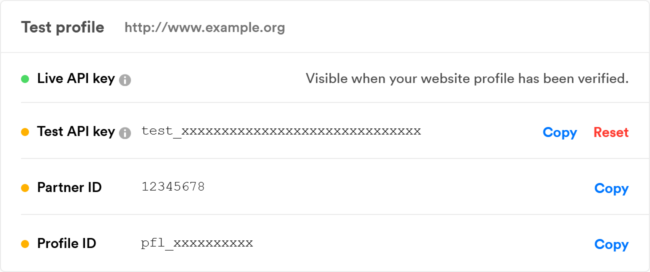
Navigate to your Mollie account to find your API keys and Profile ID in the Developers section.
- Activate Mollie in Time Slot Pro
Open your WordPress dashboard and navigate to Time Slot Pro > Settings > Payment Gateways. Select the Mollie switch to activate payments and open the credential settings.

- Save Mollie credentials
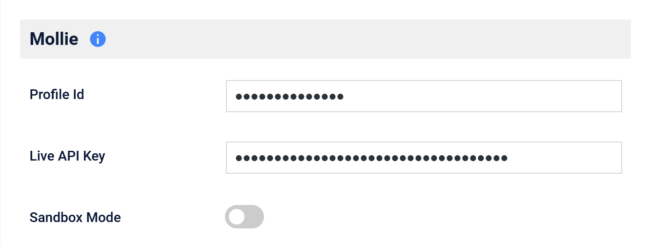
Copy and paste the Profile ID and Live API key into the corresponding text fields in the Time Slot payment settings and click the Save Changes button at the bottom of the page.
- Make a test booking payment
Click the Sandbox Mode switch in the Time Slot settings to reveal the test key fields and activate sandbox test mode. Paste your Test API key in the Sandbox section, and click Save Changes.
Open your booking form and make a test booking using a Mollie test card. You can find test card numbers at docs.mollie.com/overview/testing.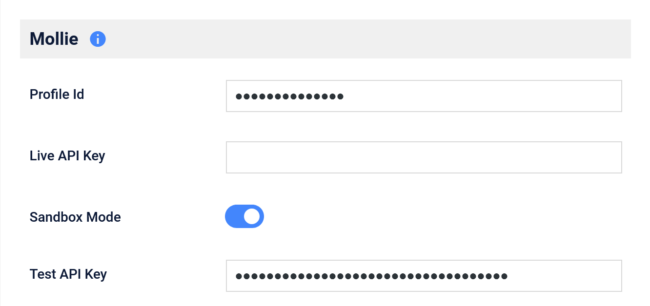
- Turn on live payments
When you are ready to accept real payments, turn off Sandbox Mode. Ensure that your Profile ID and Live API key are saved in the corresponding text fields in the Time Slot settings. Now you’re ready to start taking payments with Mollie!
Accept Mollie Payments
Allow your customers to pay for services on your website with Mollie. If plans change, issue refunds right from your WordPress dashboard with the click of a button.